This page is a complete step by step instructional guide to making your own bike light at a very affodable price. I will be describe with words and show you with pictures how to assemble a powerful bike light system that can be mounted to a bicycle helmet.
I will not be describing the electrical/battery side of the light system as I feel that leaves me open to far too many questions and liability. I will give some guidance but please look elsewhere for instructions for the battery system.
CLICK ON THE PICTURES TO MAGNIFY
Tuesday, November 09, 2004
Tools and Parts
The tools that you will need for this project are:
screw drivers
hacksaw
drill with drill bits
file
soldering iron
wire cutters/strippers
The Part that you will need for this project are:
Moonrays 12V outdoor spotlight
MR16 12V bulb (10-30 watts)
Small switch (Radio Shack Mini Flat Lever Switch PN: 275-635A)
2 strand wire
connector between battery and light
shrink tube for insulating solder connections
piece of flat aluminum or steel for base of light
foam padding for under the light base
velcro straps
The Main Ingredient
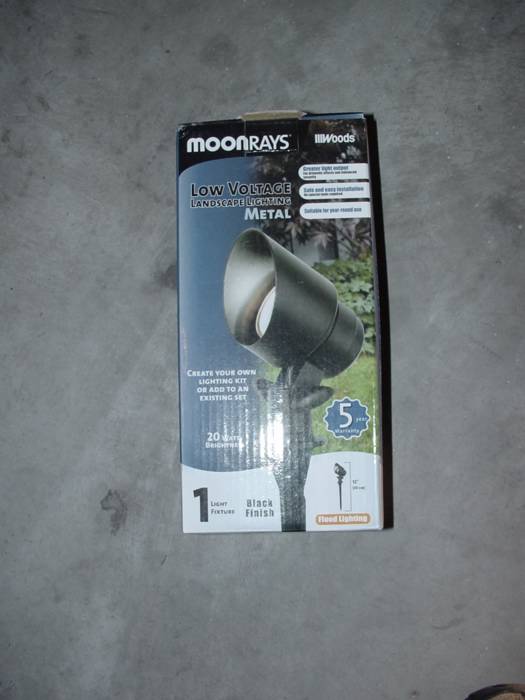
This is a (Low Voltage) 12V outdoor spotlight purchased for CAN$14.99 at Canadian Tire. Obviously this is the most important piece in the assembly of your home made bike light.
I am quite sure that this brand of light can be purchased from other retailers. I have looked into using other outdoor lights that are similar to this one, but as I you will see later in the instructions this one works PERFECTLY.
The Bulb
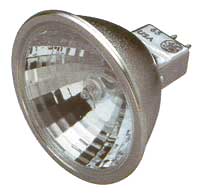
The bulb that I recommend using is a MR16 size 12V bulb. In most cases it would be best to run 10-30 watts.
In most of the lights I have made for friends I used a 20W bulb.
Get a bulb that is completely sealed (glass covering the front of the bulb).
They are available at any hardware store and are a very common bulb. Usually they are available as a flood or a spot light. If you are running a single head lamp, I kind of recommend a spot lamp. If you are going to run a dual setup, get one of each.
The Switch

This is the swtich that I use for my lights, it is a Radio Shack Mini Flat Lever Switch. PN: 275-635A. It is a small switch that has more than enough rating for my lights. I recommend using a switch similar to this.
Please note that I built these lights to ride in the DRY only. The swtich is not waterproof and is not meant to be used in the wet. Therefore find a water resistant/proof switch if you intend on riding in the wet.
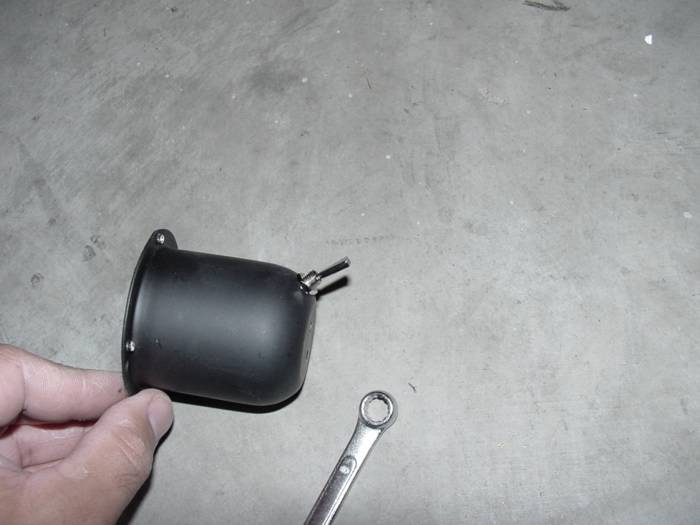
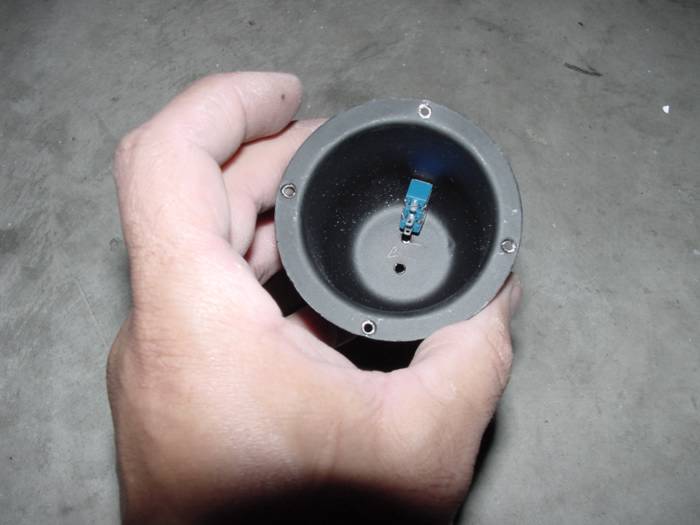
All the Parts

This photo shows the light assembly straight from the box completely disassembled (exploded view). Most of the parts that come with the 12V light are shown in this photo.

A closer picture of just the light housing. Most of this is useless as all we are really going to use is the housing.
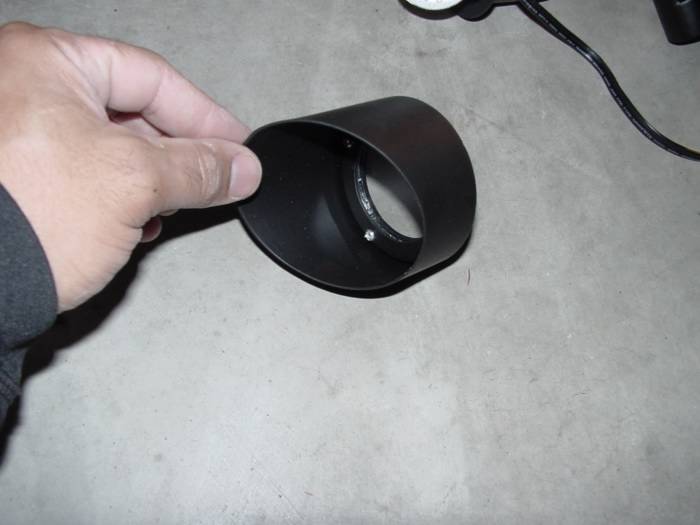
This is a photo of the shroud for the light.


The shroud, rubber gasket and the glass for the light. (We do not use the glass and it can be discarded).
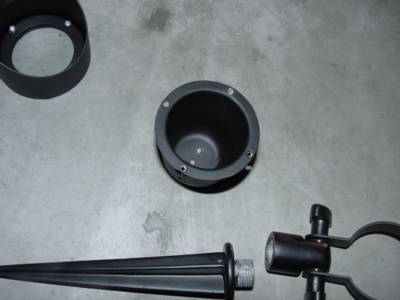

The shroud, housing and the parts that will hold the light in place on your helmet.....after a few modifications.
Drilling a Hole

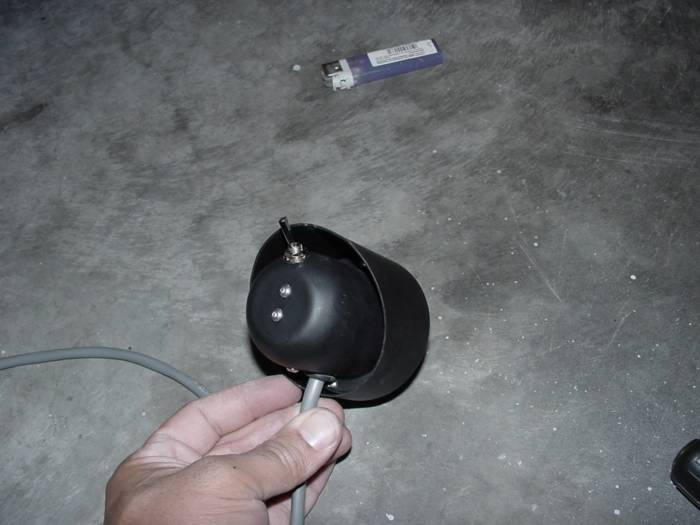
Drill a hole on the top edge of the housing for the switch to fit through. The location for your swtich can be different, but I pefer to have the switch on the top edge of the light in easy reach.
Fit the Switch
Test fit the switch to ensure that the hole drilled is big enough for the proper positioning of the switch.
Position the switch in the housing to your liking. Just ensure that it fit correctly before connections are made to it.
Wiring
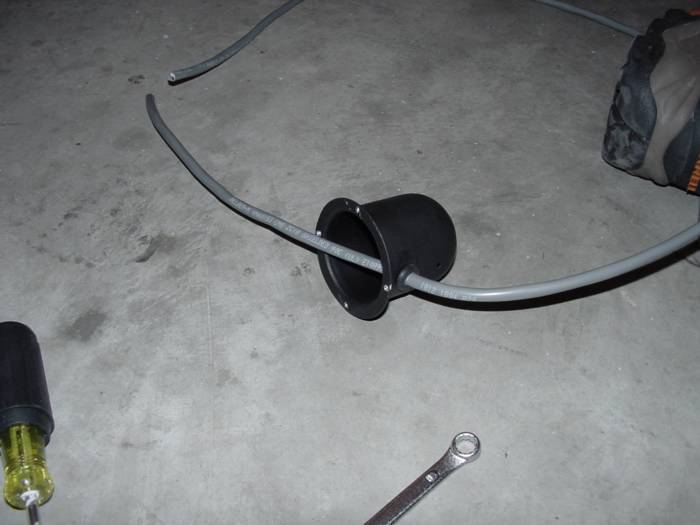
Thread your wire through the grommet in the bottome of the housing.
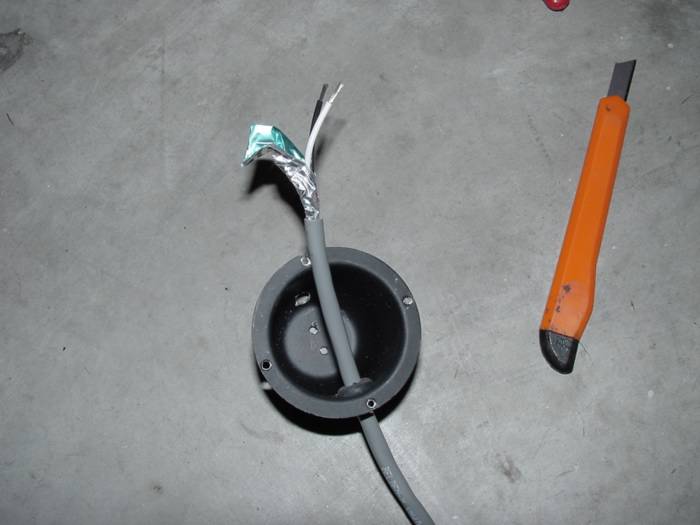
Strip the ends of the wires so that they are ready to be soldered to the light and the on/off swtich.
Soldering the Connections

This photo shows the soldered connections made to the light. Make sure that you do a solid solder connection and insulate the exposed connections with shrink tube. Note the switch is a simple in-line toggle. If the light burns out, you need to re-solder in a new light bulb.

This photo shows the bulb and switch ready to go into the housing. Basically just stuff it all back into the housing. The fit is tight, but it will fit. If solid solder connections were made and the connections were properly insulated, then you will have no problems at all.
Light and Gasket

This picture shows just how well the MR16 light fits inside the rubber gasket.

This shows how the light housing gasket then light come together (then the shroud........not show).
Putting the light together like this give the bulb a good seal in the housing. Make sure that when you put the shroud on the light that you do not over tighten the screws.
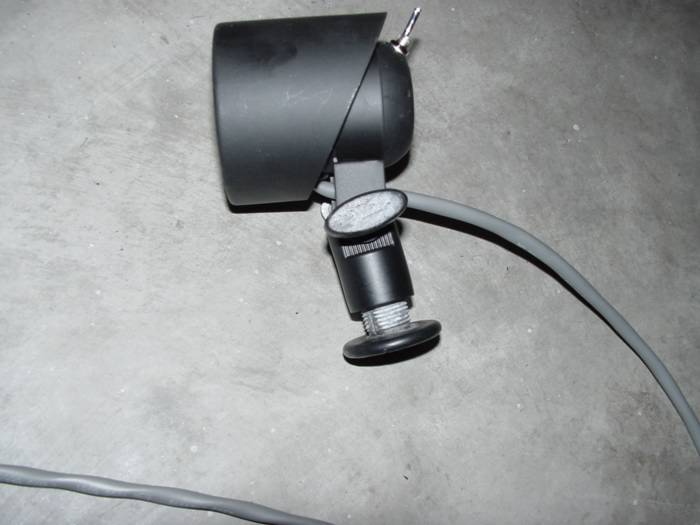
Light Pod


This is the light pod assembled together. When done correctly, the unit looks like it was meant to be a bike light.
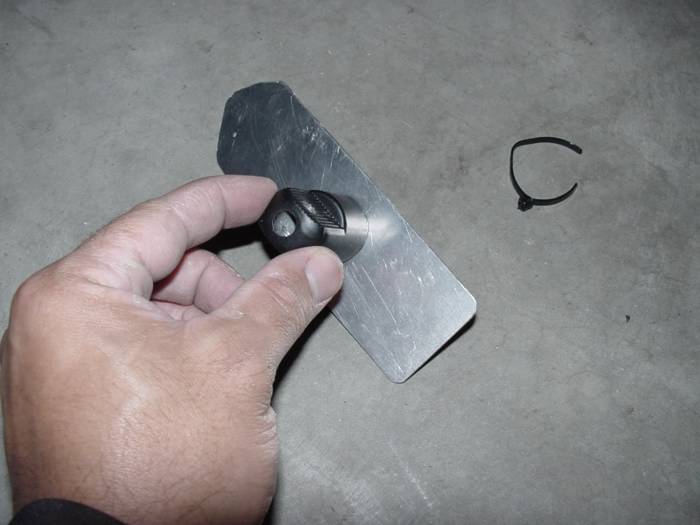
Before Cutting
This is what the assembly looks like before you take the hack saw to the stake on the lower side of the screw.
Hacking the Stake
Use a hack saw to cut the sharp part of the stake off the screw. I found that cutting one side at a time worked really well. The stake is cast aluminum and is very soft so this should only take a few minutes to do.
After the Hack Saw
This picture shows the screw cut off the stake. Make sure to file off the sharp edges. The cast aluminum is quite soft, therefore it is not hard work at all.
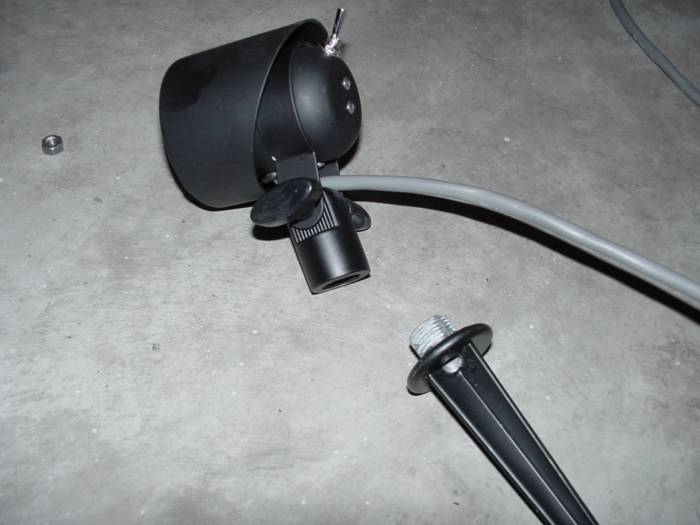
Coming Together
This photo shows how the light tower and screw come together ready to be assembled to the mounting plate.
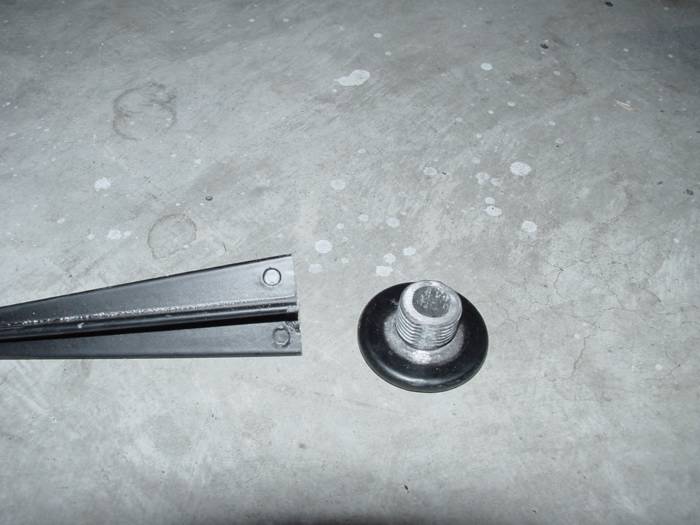
Mounting Plate
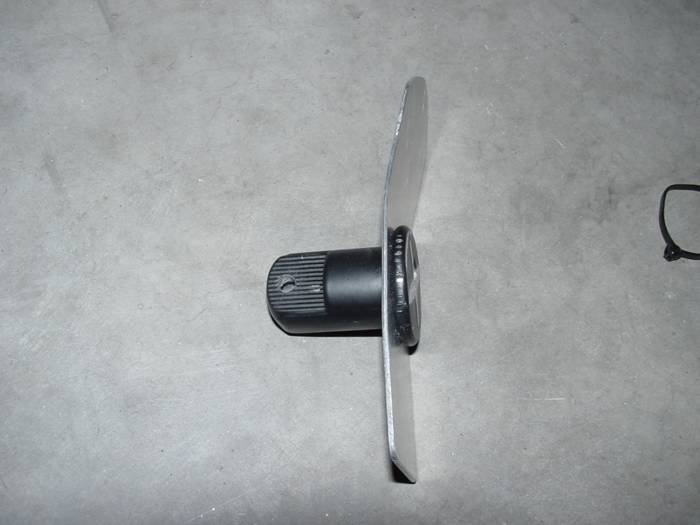

Several different views of the mounting plate with the light tower and the securing screw in place. The plate is a thin piece of aluminum that is several inches long and aobut 2 inches wide. There is a hole drilled in the plate for the screw to go through to secure the light tower. Make sure to securely tighten the screw without over stripping and make sure the tower is straight.
A Little Padding

This is the base plate shown with automotive weather stripping tape on the bottom of the plate. It is sticky on one side and then has foam on the other side. The foam side against the helmet prevents the helmet prom getting scratched and offers traction against the helmet so that the light does not shift around.
Full Assembled
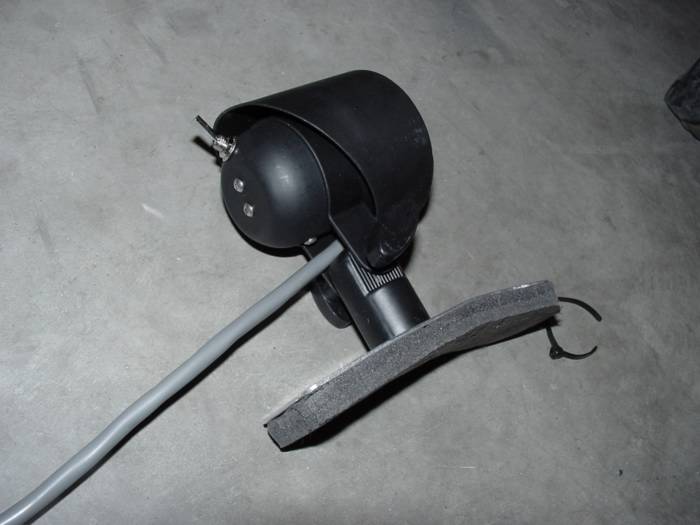
The light fully assembled and mounted to the base. This very simple base plate is extremely effective in securely mounting the light to a standard bike helmet.
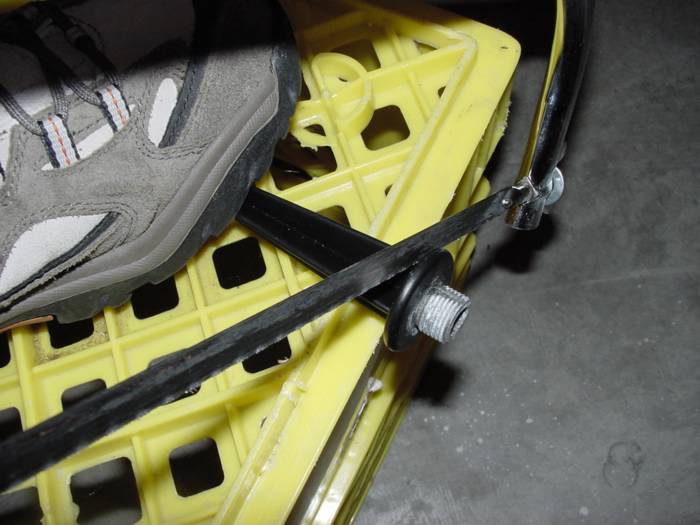
Light and Straps

This shows the light and the mounting straps. These straps simply go through the vents on a standard bike helmet. They are actually the velcro mounting straps from a frame mounted bike tire pump.
Light System Mounted (XC)

This is a single light mounted on my XC helmet. The light can easily be aimed to give you light where you need it on the trial. Note that the straps simply loop through the vent holes on the helmet.
Light System Mounted (Full Face)

This is a single light mounted on my full face helmet. The light can easily be aimed to give you light where you need it on the trial. Note that the straps simply loop through the vent holes on the helmet.
100W of Forest Torching POWER

This is my dual 50W (100W Total Power) helmet mounted light system. I figured what the heck right.......the more power the better. All I can say is that it rocks. I used two different bulb types, one 50W spot light and one 50W flood light. The flood light is aimed down in front of me while I ride and the spot light is aimed higher for longer distance viewing. I am super pleased in the performance and never have any issues with lack of light.........all that for $40 bucks.
Thursday, November 04, 2004
Battery System and Recommendations
Now as far as a battery system goes, you need to be running a 12V battery for this particular light system to work properly. The bulb that you use is 12V therefore run a 12V battery. A small sealed lead acid will work perfectly as will a Nickel Metal Hydride or Nickel Cadmium or even a Lithium Ion.
You must ensure that the packs are properly charged and properly insulated electrically as well as from the elements. The last thing you want is a short circuiting wet battery in your back pack powering your light system.
Batteries can by purchased from many different sources like Radio Shack or a specialty battery shop or even an RC Hobby store. Just make sure you get a proper charger and you do not over charge you pack.
You can also use battery packs from cordless drills. As long as they are 12V you have the perfect battery and charger. Just make the appropriate connections and you are good to go.
Always test your light out. Meaning charge the pack and test your light at home to see how long it will operate. The last thing you want to do is get stuck in the forest in the dark. Also always ride with others at night and always carry a small battery operated flashlight that works. You never know what can happen in the dark of the forest.
Have Fun,
Dean
Subscribe to:
Posts (Atom)